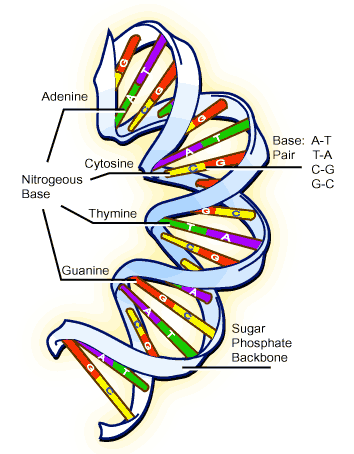
In class, we did a DNA Extraction with the help of Ms. Irizarry. We had to choose which DNA we would extract. I had chosen the animal method.
The materials that I needed were:
· sports drink
· test tube
· alcohol
· cell lysis
· sports drink
· test tube
· alcohol
· cell lysis
First, I had to take in the sports drink and swish it around my mouth for exactly one minute. Then I had to emit it out into the cup. Right after that, I needed to pour that into an empty test tube. This filled about five and a half mL of the tube. Afterwards, I added 2mL of cell lysis. As part of the directions, I had to flip the tube 5-8 times. Next, I let a few drops of alcohol slide down the side of the test tube. The alcohol took another 3mL of the test tube. In the end, it looked like three layers of different liquids.
My hypothesis for this lab was:
If we follow the procedure correctly, the DNA will appear at the top of all the layers.
If we follow the procedure correctly, the DNA will appear at the top of all the layers.
My hypothesis was correct; the result of the steps that I followed above showed the DNA. After 5-10 minutes, at the top of the alcohol layer, there was a string of whiteness. That was the DNA!!!
Ms. Irizarry explained to us how the different materials that we used helped bring the DNA out through a slide show. First, the cell membrane contains fats/lipids. So, the detergent/cell lysis breaks down fat; this process is known as emulsification. Then there were enzymes. These enzymes break the wrap around the proteins. Thus, setting the DNA free. Also, the enzymes or papain cut the protein into pieces. Then the salt in the alcohol saturated the solution. This makes the DNA feel uncomfortable and makes it come out of all the three layers and shows itself.
I learned how to extract my own DNA.
I learned how to extract my own DNA.

0 comments:
Post a Comment